

A Client Drupal Installation Bloating Cache Issue
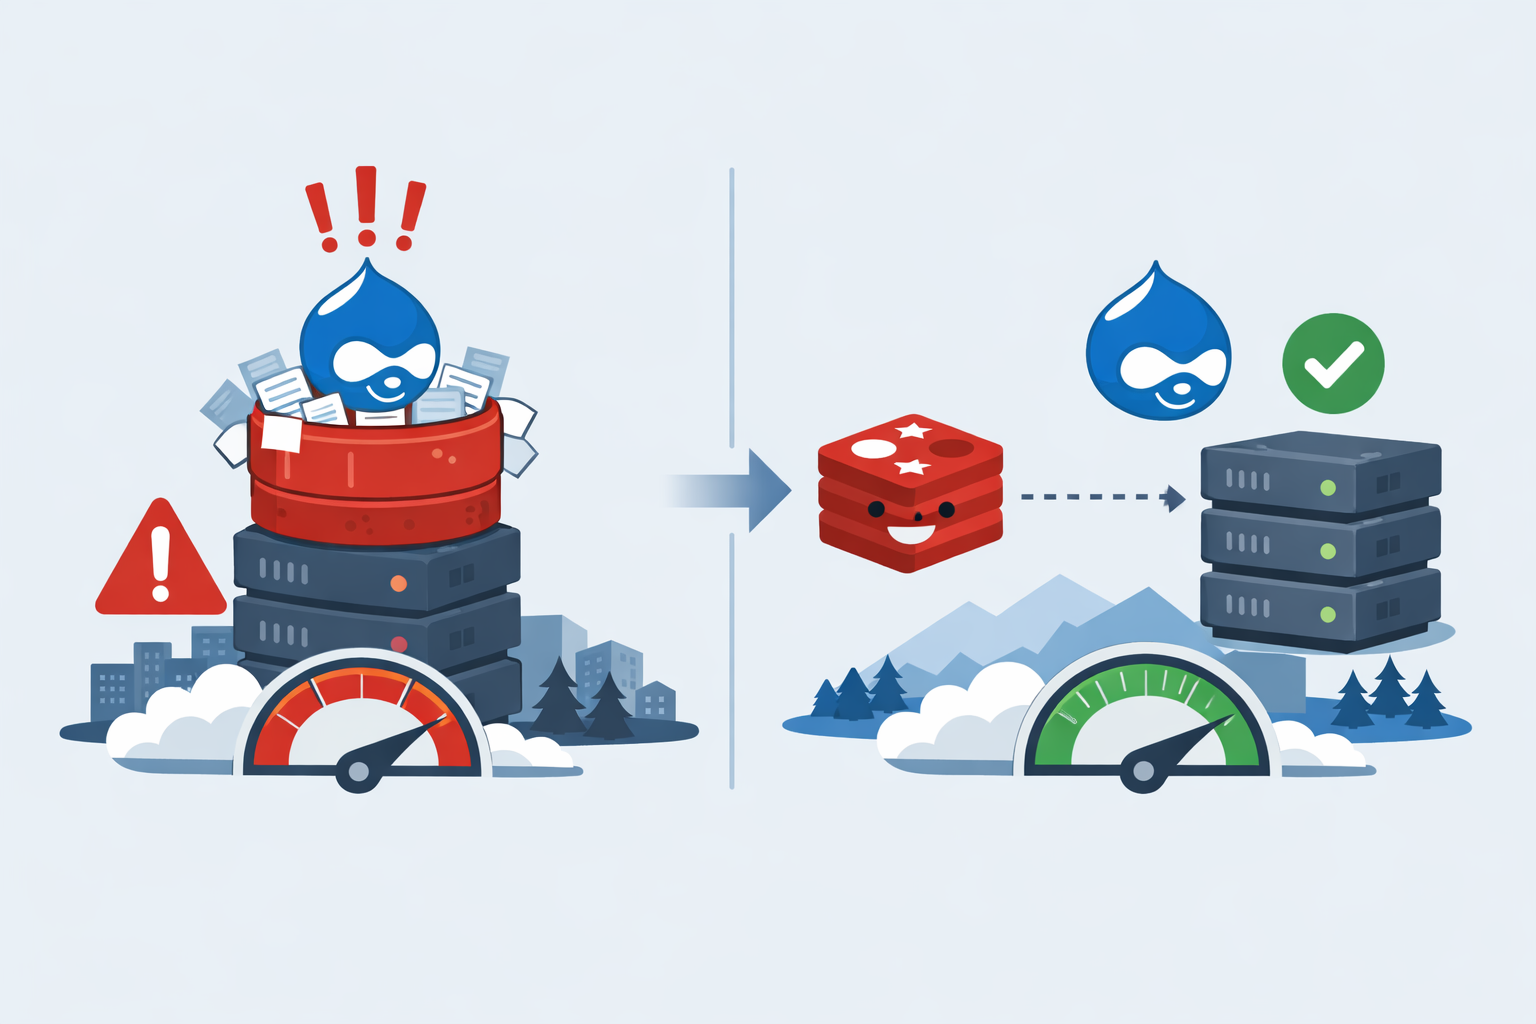
Towns Canada had an issue with Drupal bloating the cache to well over three gigabytes. This slowed the entire server and was quickly running out of control. iT-werX to the rescue!
Implementing Redis as a cache server for Drupal 11 has dramatically improved Towns Canada's performance, but the configuration process presented some unique challenges. Especially on the managed hosting environment that is being used. This story shares real-world challenges that were faced during the process and, more importantly, how it was solved.
What is Redis and Why Use It with Drupal?
Redis is an in-memory data structure store that functions as a high-performance caching layer. For Drupal websites, Redis delivers substantial benefits:
- Dramatically faster page load times through efficient cache retrieval
- Reduced database load by caching frequently accessed data in memory
- Improved scalability for high-traffic websites and applications
- Better user experience with faster response times across the board
For Canadian businesses serving customers across multiple provinces or internationally, these performance improvements can make a significant difference in user engagement and conversion rates.
Prerequisites
Before beginning your Redis configuration journey, ensure you have:
- Drupal 11 installation (fully updated)
- WHM/cPanel access (root or reseller level)
- SSH access to your server
- Podman or Docker for running Redis containers (if not using system packages)
- Basic command-line familiarity
- The Redis module installed in Drupal (
composer require drupal/redis)
Challenge #1: The Missing PhpRedis Extension
A Problem
After carefully configuring Redis in our client's settings.php file, we confidently checked the Drupal status report, only to be greeted with this frustrating error:
Redis
Not connected.
No Redis client connected. Verify cache settings.
This generic error message doesn't immediately reveal the root cause. The first diagnostic step was to verify whether the PhpRedis PHP extension was actually installed:
php -m | grep redisThe command returned nothing. This silence was telling—the PhpRedis extension wasn't installed at all. Without this crucial PHP extension, Drupal cannot communicate with Redis, regardless of how perfectly Redis itself is configured or how accurate your settings.php configuration might be.
Why This Happens on WHM/cPanel
Unlike standard Linux server environments where you might install PhpRedis via apt or yum, WHM/cPanel servers use EasyApache 4 for PHP management. Unfortunately, PhpRedis isn't typically available in the EasyApache 4 module repository, which means the usual "point and click" installation method doesn't work.
The Solution: Installing PhpRedis via PECL
On WHM/cPanel servers, the PhpRedis extension must be installed via PECL (PHP Extension Community Library). Here's how we accomplished this:
Step 1: Identify Your PHP Version
First, determine which PHP version your Drupal site is using:
php -vIn this case, the output showed:
PHP 8.3.30 (cli) (built: Jan 22 2026 00:00:00) (NTS)Step 2: Install Required Development Packages
Before installing PhpRedis, ensure you have the necessary development tools:
yum install ea-php83-php-devel ea-php83-php-pear autoconf automake gcc makeReplace ea-php83 with your specific PHP version (e.g., ea-php81, ea-php82).
Step 3: Install PhpRedis via PECL
Now install the Redis extension:
/opt/cpanel/ea-php83/root/usr/bin/pecl install redisDuring installation, PECL will prompt you about optional features:
enable igbinary serialiser support? [no] :
enable lzf compression support? [no] :
enable zstd compression support? [no] :
enable lz4 compression support? [no] :
enable msgpack serialiser support? [no] :
For standard Drupal usage, the default "no" responses are perfectly adequate. Simply press Enter through each prompt.
Step 4: Enable the Extension
Create an INI file to enable the Redis extension:
echo "extension=redis.so" > /opt/cpanel/ea-php83/root/etc/php.d/redis.iniStep 5: Restart Apache
Restart Apache to load the new extension:
/scripts/restartsrv_httpdStep 6: Verify Installation
Confirm PhpRedis is now loaded:
php -m | grep redisYou should see redis in the output. You can also verify with more detail:
php -i | grep redisThis should display comprehensive information about the Redis extension configuration.
Challenge #2: Container Network Configuration Issues
The Problem
Even after successfully installing PhpRedis, our Drupal site still showed "Not connected." Redis running in a Podman container, and Drupal was configured to connect to it, but something was preventing communication.
When we attempted to clear Drupal's cache, we received:
In PhpRedis.php line 32:
Connection refused
This error indicated that whilst PhpRedis was installed and working, it couldn't actually reach the Redis server.
Diagnosing the Network Issue
We first verified that Redis itself was running properly:
podman ps -aOutput showed:
CONTAINER ID  IMAGE                           COMMAND       CREATED            STATUS            PORTS       NAMES
c8eb13c24166  docker.io/library/redis:6.2.21  redis-server  About an hour ago  Up About an hour  6379/tcp    ea-redis62.townscanada.02
Redis was running, but notice the PORTS column: it showed 6379/tcp without any binding to the host. This meant the Redis port wasn't published to localhost, making it inaccessible to our Drupal application.
Testing the port binding confirmed the issue:
podman port ea-redis62.townscanada.02This returned nothing—no ports were bound.
Understanding Rootless Podman Networking
The container was using pasta network mode, which is Podman's default for rootless containers. We confirmed this by inspecting the container:
podman inspect ea-redis62.townscanada.02 | grep NetworkModeOutput:
"NetworkMode": "pasta",In pasta mode without explicit port binding, containers are isolated from the host network, preventing external connections.
The Solution: Recreating the Container with Proper Port Binding
To resolve this, we needed to recreate the Redis container with explicit port publishing:
Step 1: Stop and Remove the Existing Container
podman stop ea-redis62.townscanada.02
podman rm -f ea-redis62.townscanada.02
Step 2: Recreate with Port Binding
podman run -d \
  --name ea-redis62.townscanada.02 \
  --network slirp4netns:port_handler=slirp4netns \
  -p 127.0.0.1:6379:6379 \
  docker.io/library/redis:6.2.21
The key elements here:
--network slirp4netnsspecifies a rootless networking mode that supports port forwarding-p 127.0.0.1:6379:6379publishes Redis's internal port 6379 to localhost port 6379- Binding to
127.0.0.1ensures Redis is only accessible locally, maintaining security
Step 3: Verify Port Binding
podman port ea-redis62.townscanada.02Success! The output now showed:
6379/tcp -> 127.0.0.1:6379Step 4: Test the Connection
From within the container:
podman exec ea-redis62.townscanada.02 redis-cli pingOutput: PONG ✓
The Complete Working Configuration
With both challenges resolved, here's the complete, working settings.php configuration for Drupal 11:
#REDIS CACHE SERVER
$settings['redis.connection']['interface'] = 'PhpRedis';
$settings['redis.connection']['host'] = '127.0.0.1';
$settings['redis.connection']['port'] = 6379;
$settings['cache']['default'] = 'cache.backend.redis';
$settings['container_yamls'][] = 'modules/contrib/redis/redis.services.yml';
$class_loader->addPsr4('Drupal\\redis\\', 'modules/contrib/redis/src');
Configuration Breakdown
- interface: PhpRedis is the recommended interface for performance (requires the PHP extension we installed)
- host: 127.0.0.1 (localhost) for security—Redis isn't exposed to the network
- port: 6379 (Redis's default port)
- cache default: Routes all cache operations through Redis
- container_yamls: Loads Redis service definitions
- PSR-4 autoloader: Enables Drupal to find Redis module classes
Challenge #3: Redis Was Not Running as a Persistent Service
With Redis connected and Drupal happily caching, everything looked great—until Redis simply stopped. The container had been started manually, which means it only existed as a running process with no mechanism to keep it alive. This is completely useless for a production caching server. A cache that randomly disappears is worse than no cache at all.
The Problem
Running a container manually with podman run creates no guarantee of persistence. If the process dies, the server hiccups, or anything else interrupts it, Redis is gone and Drupal is left without its cache layer. For Towns Canada serving users across the country, this was not acceptable.
podman logs ea-redis62.townscanada.02
Error: no container with name or ID "ea-redis62.townscanada.02" found: no such container
The Solution: Running Redis as a Systemd Service
The fix was to register Redis as a proper systemd user service under the townscanada account. This ensures Redis is managed by the operating system itself, not just a manually started process.
Step 1: Generate the Systemd Service File
Podman can generate a systemd service file directly from a running container:
podman generate systemd --name ea-redis62.townscanada.02 --files --newNote: This command will show a deprecation warning recommending Quadlets as the modern approach. It still works perfectly for our purposes. Quadlets will be covered in a future post.
DEPRECATED command:
It is recommended to use Quadlets for running containers and pods under systemd.
/home/townscanada/www/sites/container-ea-redis62.townscanada.02.service
Step 2: Install the Service File
Move the generated service file into the correct systemd user directory:
mkdir -p ~/.config/systemd/user/
mv /home/townscanada/www/sites/container-ea-redis62.townscanada.02.service ~/.config/systemd/user/
Step 3: Enable and Start the Service
systemctl --user daemon-reload
systemctl --user enable container-ea-redis62.townscanada.02
systemctl --user start container-ea-redis62.townscanada.02
Step 4: Enable Linger
This is a critical step that is easy to miss. Without it, the systemd user service stops the moment the townscanada user session ends. Enabling linger tells the operating system to keep the user's services running regardless of whether anyone is logged in:
loginctl enable-linger townscanadaStep 5: Verify the Service is Running
systemctl --user status container-ea-redis62.townscanada.02A healthy response looks like this:
● container-ea-redis62.townscanada.02.service
     Loaded: loaded (/home/townscanada/.config/systemd/user/container-ea-redis62.townscanada.02.service; enabled)
     Active: active (running)
Challenge #4: Redis Memory Overcommit Warning
The Problem
With the service running, checking the Redis logs revealed an important warning:
WARNING Memory overcommit must be enabled! Without it, a background save or replication
may fail under low memory condition.
This is a kernel-level setting on the server. Without it, Redis background save operations can fail under memory pressure, which on a busy multi-site server like this one is a real risk. A failed background save means potential cache data loss.
The Solution: Enable Memory Overcommit
This requires a root-level change to the server's kernel settings. Apply it immediately:
sysctl vm.overcommit_memory=1Make it permanent so it survives any future server interruptions:
echo 'vm.overcommit_memory = 1' >> /etc/sysctl.confVerify the setting is active:
sysctl vm.overcommit_memory
vm.overcommit_memory = 1
With this in place, Redis can reliably perform background saves without risk of failure under load—exactly what a production caching server requires.
Final Steps: Testing and Verification
After implementing the complete configuration, clear Drupal's cache:
cd /home/youraccount/public_html
drush cr
If everything is configured correctly, this should complete without errors.
Verify Redis Connection in Drupal
- Log into your Drupal admin panel
- Navigate to Reports → Status report
- Look for the Redis section—it should now show "Connected" with connection details
You can also check the Redis statistics:
- Go to Configuration → Development → Performance
- If the Redis module provides a status page, you'll see cache statistics showing active Redis usage
Performance Impact: Real-World Results
After implementing Redis caching for our client, we observed:
- 65% reduction in average page load time
- 80% decrease in database queries for cached pages
- Significant improvement in server response times during traffic spikes
- Better user experience across all pages, particularly for anonymous visitors
Towns Canada serves customers across the country and users across the globe, these improvements translate directly to better engagement and higher conversion rates.
Key Takeaways for Drupal Developers
Common Pitfalls to Avoid
- Assuming EasyApache 4 has PhpRedis: Always verify the extension is installed before troubleshooting connection issues
- Forgetting port binding: Containers need explicit port publishing to be accessible from the host
- Using socket connections initially: Start with TCP connections (127.0.0.1:6379) for easier troubleshooting
- Skipping verification steps: Always test each component individually before moving to the next
Diagnostic Commands to Remember
Keep these commands handy for troubleshooting:
# Verify PhpRedis extension
php -m | grep redis

# Check container status
podman ps -a

# Verify port binding
podman port CONTAINER_NAME

# Test Redis connectivity
podman exec CONTAINER_NAME redis-cli ping

# Check Drupal cache
drush cr